
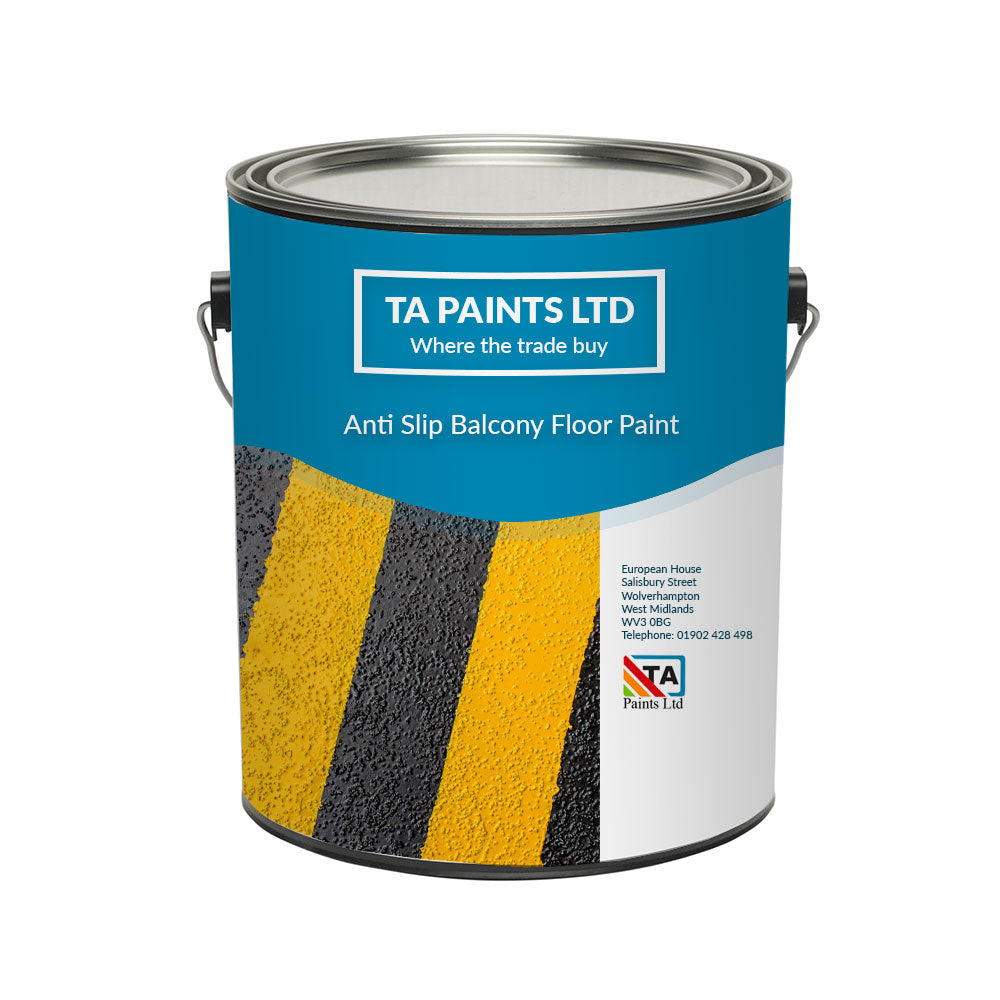

Anti Slip Balcony Floor Paint
Non Slip Finish - Primes & Protects 9 Colour(s) Available
- Regular price
- £62.99 Inc. VAT
- Sale price
- £62.99
- Regular price
-
- Unit price
- per
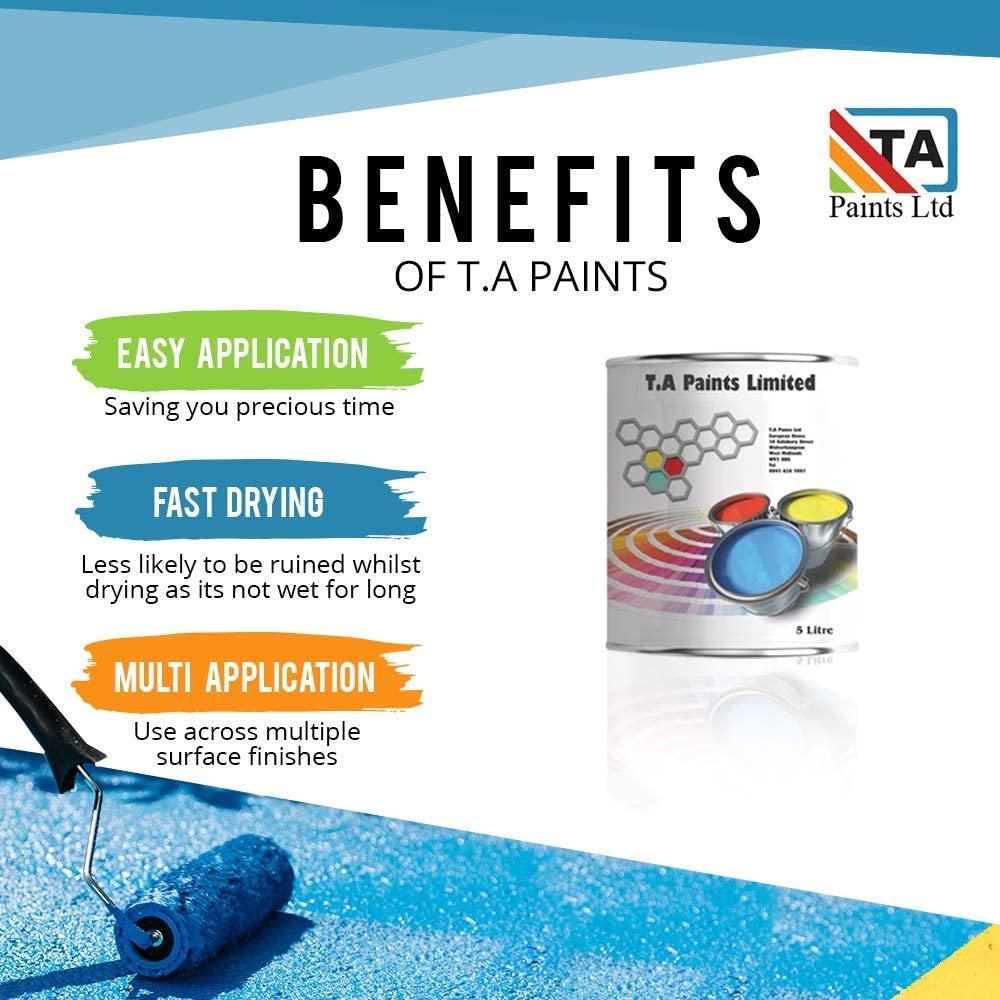
Benefits of TA Paints
- Easy Application - Saving you precious time
- Fast Drying - Less likely to be ruined whilst drying as its not wet for long
- Multi Application - Use across multiple surface finishes
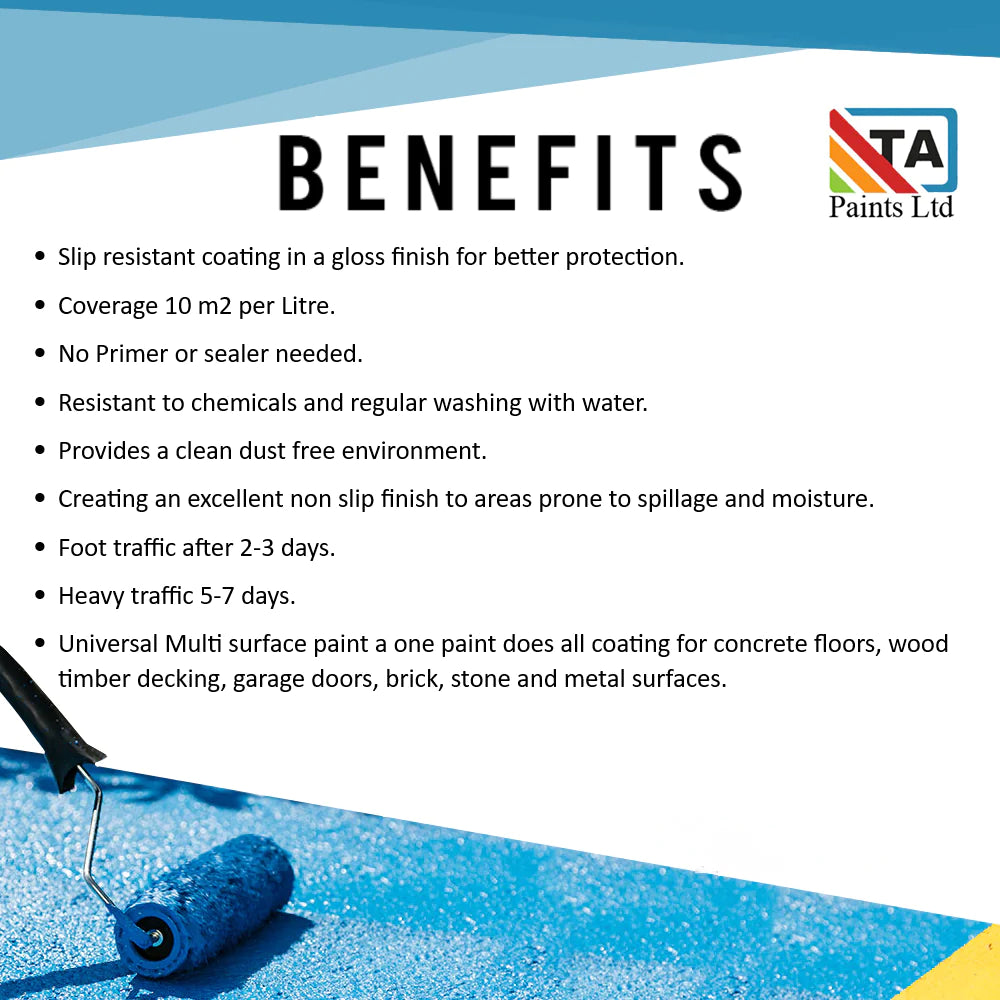
Benefits
- Slip resistant coating in a gloss finish for better protection
- Coverage 10 m2 per litre
- No primer or sealer needed
- Resistant to chemicals and regular washing with water
- Provides a clean dust free environment
- Creating an excellent non slip finish to areas prone to spillage and moisture
- Foot traffic after 2-3 days
- Heavy traffic 5-7 days
- Universal multi surface paint a one paint does all coating for concrete floors, wood timber decking, garage doors, brick, stone and metal surfaces

Surface Preparation Checklist
- Chemically or mechanically hardened floors may need abrasion prior to application
- Remove old paint if necessary
- Remove all loose and flaking materials then clean all dust and dirt from surface to assist good adhesion
- Ensure surface is clean dry and free from any oil or grease that will contaminate the coating and prevent drying
- Ensure surface is at ambient temperature prior to painting to avoid blooming and a slow dry time
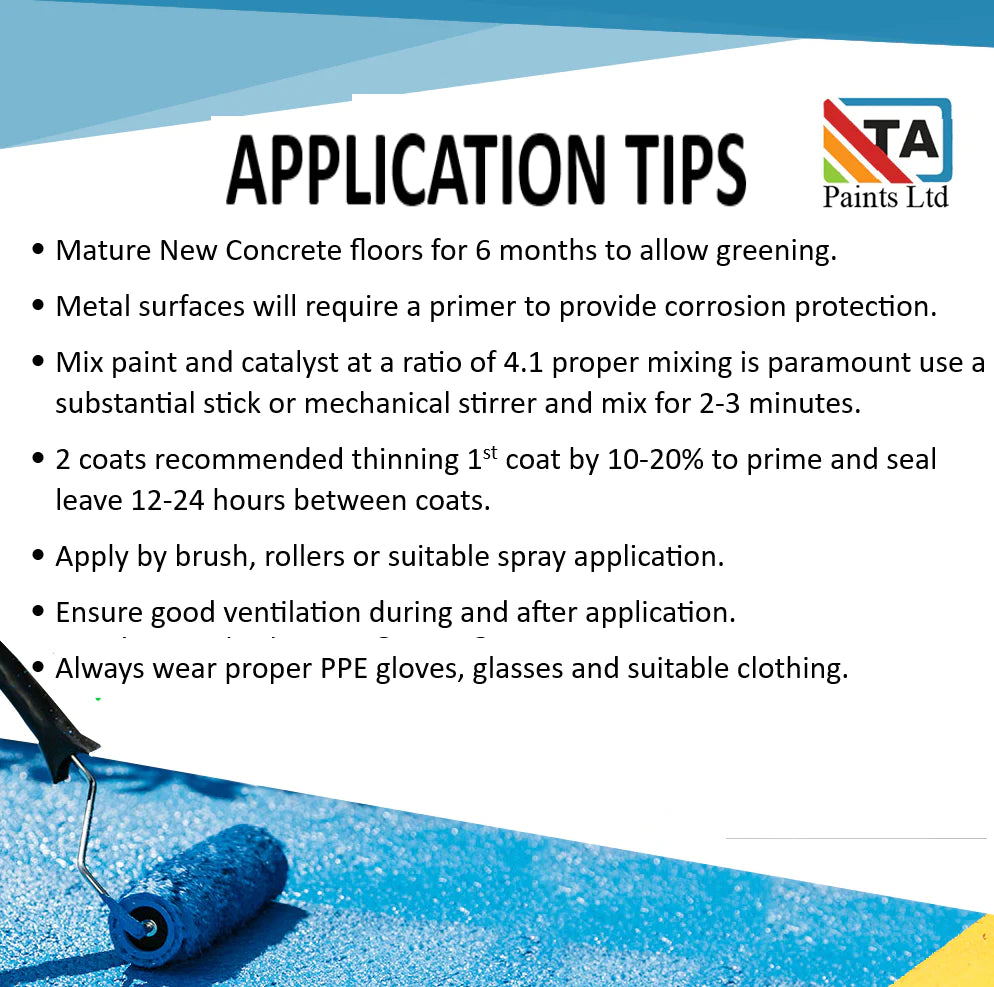
Application Tips
- Mature new concrete floors for 6 months to allow greening
- Metal surfaces will require a primer to provide corrosion protection
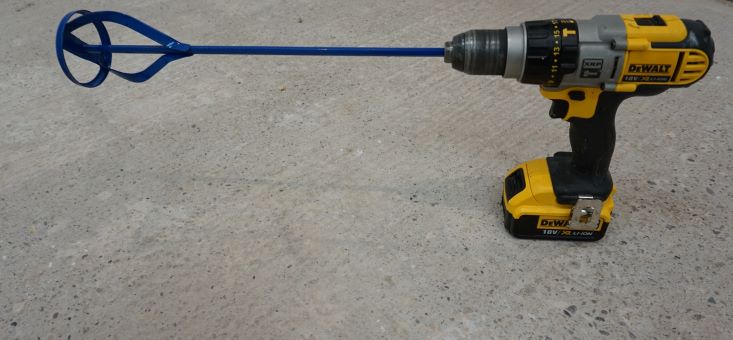
- Mix paint and catalyst at a ratio of 4.1 proper mixing is paramount use a substantial stick or mechanical stirrer and mix for 2-3 minutes
- 2 coats recommended thinning 1st coat by 10-20% to prime and seal leave 12-24 hours between coats
- Apply by brush, rollers or suitable spray application
- Ensure good ventilation during and after application
- Always wear proper PPE gloves, glasses and suitable clothing
Description
Transform your outdoor spaces with Anti-Slip Balcony Floor Paint Universal PU Enamel, the ultimate solution for safety and durability. This high-performance, single-pack polyurethane paint is pre-mixed with an aggregate to create a rough, textured finish right out of the can. No additional additives or treatments are needed—simply stir thoroughly, and it’s ready to apply.
Designed specifically for areas prone to moisture and spillage, this paint offers exceptional grip, reducing the risk of slips and falls on balconies, terraces, or any outdoor flooring. The tough and resilient formula ensures long-lasting protection against wear, weather, and foot traffic, while the textured surface adds a modern, practical aesthetic to your space. Non-Slip Polyurethane Paint, ideal for a variety of surfaces, including concrete, primed metal and fibreglass, wood, stone, and brick.
For the most cost-effective and easy application, start by applying a standard smooth paint as the first coat. After allowing it to dry for 12–24 hours, apply the second coat using the non-slip paint.
The built-in non-slip aggregate significantly reduces the risk of accidents by improving traction. However, it’s important to note that, like any painted surface, it may still become slippery when wet.
About This Item
Application
Primers
Mixing
Calculate Your Solvent Paint
Total Sqm:
Quantity Needed:
Quantities are approximates per coat, we cannot allow for wastage and or any absorption that may occur with porous substrates.
Total Sqf:
Quantity Needed:
Quantities are approximates per coat, we cannot allow for wastage and or any absorption that may occur with porous substrates.