

Advice Line
Need more information about our products? Give us a call on 01902 954948 or email us at sales@taindustrialpaints.co.uk
White Radiator Paint
1 Colour(s) Available
- Fast Dry Time In as Little as 20-40 Mins Touch Dry
- Multi Purpose For Metal, Wood, Concrete, Stone & Brick
- Premium High Temperature Finish
- Quick Drying Radiator Paint
- Multi-Buy Discounts
- Free Delivery Available
- Regular price
- £32.99 Inc. VAT
- Sale price
- £32.99
- Regular price
-
- Unit price
- /per
Find Your Perfect Colour

Adding product to your cart
Advice Line
Need more information about our products? Give us a call on 01902 954948 or email us at sales@taindustrialpaints.co.uk
This product is not suitable for the following
- Tiles of any sort
- Unprimed plastic
- Bare aluminium (you will need a suitable etch primer)
- Untreated galvanised steel (Mordant solution first)
- A hot surface that reaches above 106 degrees (C) (you will need high temperature paints)
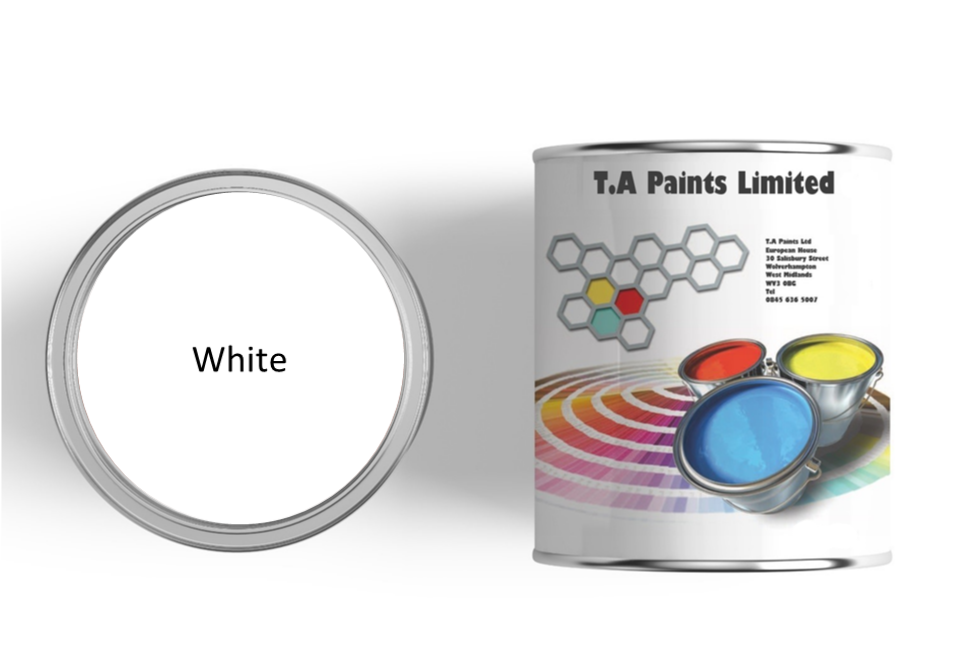
The colours shown on the images are for guidance only. The displayed colour will depend on your monitor and browsers. The finished colour therefore may not be as shown here.
All pictures are for illustration purpose only - 1 & 2.5 Litre cans are not screen-printed cans.
Description
Radiator Paint
Our radiator paint is suitable to be used over existing paint on radiators for domestic and industrial use. It is a heat resistant paint with a high gloss finish which also protects from everyday scuffs and knocks.
It is very important to have good ventilation when painting and for drying.
The radiator must be turned off and cold prior to painting, also ensure radiator is clean.
When you turn the radiator back on there will be a strong smell, this is normal. Keep the room well ventilated by opening windows and doors, the smell will go in a couple of days once the paint has fully cured.

Key Facts
 Can be brushed, roller or spray applied
 Do not pre seal concrete espesally with latex or PVC sealers paint will not stick
 Easy Clean High Gloss Finish
 Touch Dry 30-40 mins
 Over coat 12-24 hours
 Thinners suitable QD Thinners T1000
 Covers Approx. 8 square metres per litre (this does not account for the method of application, absorption of substrate or wastage)
 Two Coats recommended for best results
 Multi Aplication suitable for Primed Metal, Wood, Timber Concrete, Cladding and primed Fibreglass/GRP
Make sure you use a mixer on a slow running drill, pallet knife or a broom stick that reaches the bottom of the can and mixing should take place for 3-5 mins to ensure all the content is properly mixed together to avoid colour and or drying problems. Thinners required are QD Thinners T1000. If thinning is required when applying by a brush or roller start by gradually adding 5% but do not thin more an 10% as the paint won’t cover As our coatings are heavily pigmented separation can easily occur and you can have colour float, for example a green paint can seem blue before mixing, this is one of the reasons mixing your paint before use is essential.
Application - Painting over existing paint
Step 1 - Check suitability of the product to the existing paint. We recommend you try a sample area first.
Step 2 Clean and Abrade -
- Make sure the existing paint is in good condition prior to painting, then lightly abrade to provide a key for good intercoat adhesion.
- If there is flaking paint this must be removed prior to painting.
- For any parts that has rusted you will need to sand the rust back to the bare metal and spot prime with the appropriate primer.
- Ensure substrate is clean of any dirt, oil, or grease
Step 3 Prime – This step is down to personal preference, depending on the condition of the existing paint or if you are changing a dark colour to a light you may want to add one coat of primer.
Step 4 Topcoat- Once you have completed the following steps you can apply your top coat.
Application - Painting a bare substrate
Step 1 Clean - Ensure substrate is clean of any dirt, oil, or grease.
Step 2 Prime – Depending on the material you are painting will determine what primer you will need.
Step 3 Topcoat – 12-24 hours after applying the primer you can add your first coat of topcoat. Wait another 12-24 hours and then apply the second coat.
Spray Application Guide
If applying with an air assisted or air assisted airless system - Use a 11-13 thou tip no thinners usually required. If thinning is necessary use around 10% Set air and paint pressures until good atomization is achieved and fingering (lines in the spray) have blended in.
Use a 1:2 to 1:4 tip set up thinning by 10% if required. More thinners may be added to achieve good atomization to achieve better flow of the paint giving a better finish.
Primers
Mild Steel – If you are painting mild steel you will need our Metal Primer to view this please Click here
Fibreglass – If the fibreglass is bare you will need a fiberglass primer. For Two Pack Epoxy Fiberglass Primer Click here. For Single Pack Fiberglass Primer Click here
Galvanised Steel – Once you have treated the galvanised steel with Mordant Solution (T-Wash) you will need our Metal Primer. Click here
Aluminium – The primer suitable for aluminium is One Pack Etch Primer. Click here
Wood, Concrete, Stone or Brick - No primer requiored 1st coat will prime and seal. You will find that these kind of substrates will be porous, we recommend that on your first coat thin by 20% to ensure it impregnates the substrate. Then after 12-24 hours apply the second coat un thinned.
Good Preperation of the is paramount to an excellent long lasting finish. Make sure substrate is clean from dust, dirt, moisture, oil etc before painting. and never pre seal the floor prior to painting espesally with laytex or PVC selaers paint will not stick.

Always stir paint well prior to using
Make sure you use a broom stick, mixer on a slow running drill or pallet knife to mix and mixing should take place for 3-5 mins to ensure all the content is properly mixed together to avoid colour and or drying problems.
As our coatings are heavily pigmented separation can easily occur and you can have colour float, for example a green paint can seem blue before mixing, this is one of the reasons mixing your paint before use is essential.

Calculate Your Solvent Paint
Total Sqm:
Quantity Needed:
Quantities are approximates per coat, we cannot allow for wastage and or any absorption that may occur with porous substrates.
Total Sqf:
Quantity Needed:
Quantities are approximates per coat, we cannot allow for wastage and or any absorption that may occur with porous substrates.

