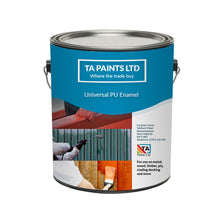
Universal PU Enamel Paint Multi Purpose for Wood Metal Concrete Stone & Brick
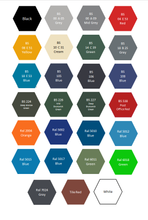
32 Colour(s) Available
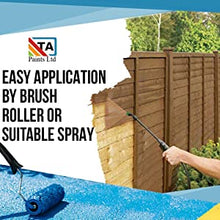
- Application By Brush Roller & Suitable Spray
- Easy To Use Multi Purpose Paint
- Fast Dry Time In as Little as 2-4 Hours Touch Dry
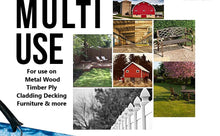
- Suitable For Metal, Wood, Concrete, Stone & Brick
- Multi-Buy Discounts
- Free Delivery Available
- Regular price
- £56.99 Inc. VAT
- Sale price
- £56.99
- Regular price
-
- Unit price
- /per
Find Your Perfect Colour
Adding product to your cart
Advice Line
Need more information about our products? Give us a call on 01902 954948 or email us at sales@taindustrialpaints.co.uk
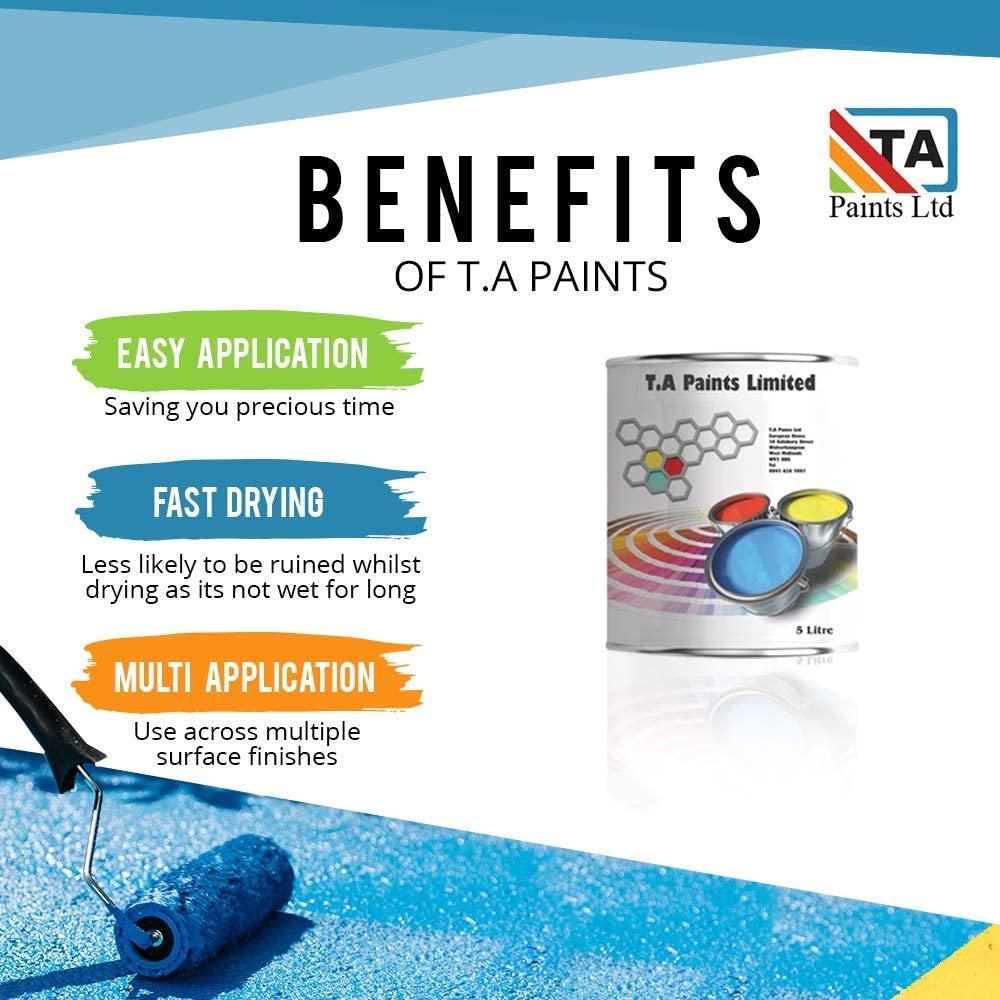
Benefits of TA Paints
- Easy Application - Saving you precious time
- Fast Drying - Less likely to be ruined whilst drying as its not wet for long
- Multi Application - Use across multiple surface finishes
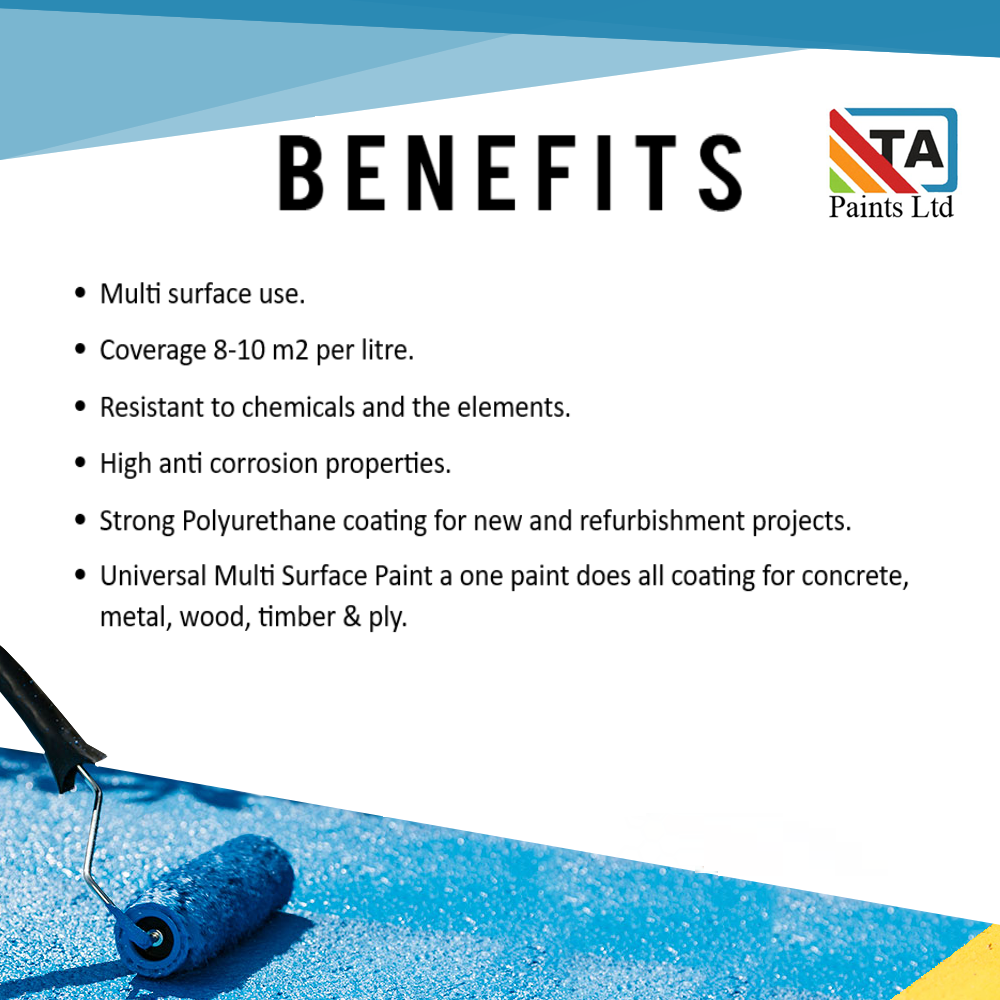
Benefits
- Multi surface use
- Coverage 8-10 m2 per litre
- Resistant to chemicals and the elementsHigh anti corrosion properties
- Strong Polyurethane coating for new and refurbishment projects
- Universal Mutli Surface Paint a one paint does all coating for concrete, metal, wood, timber & ply
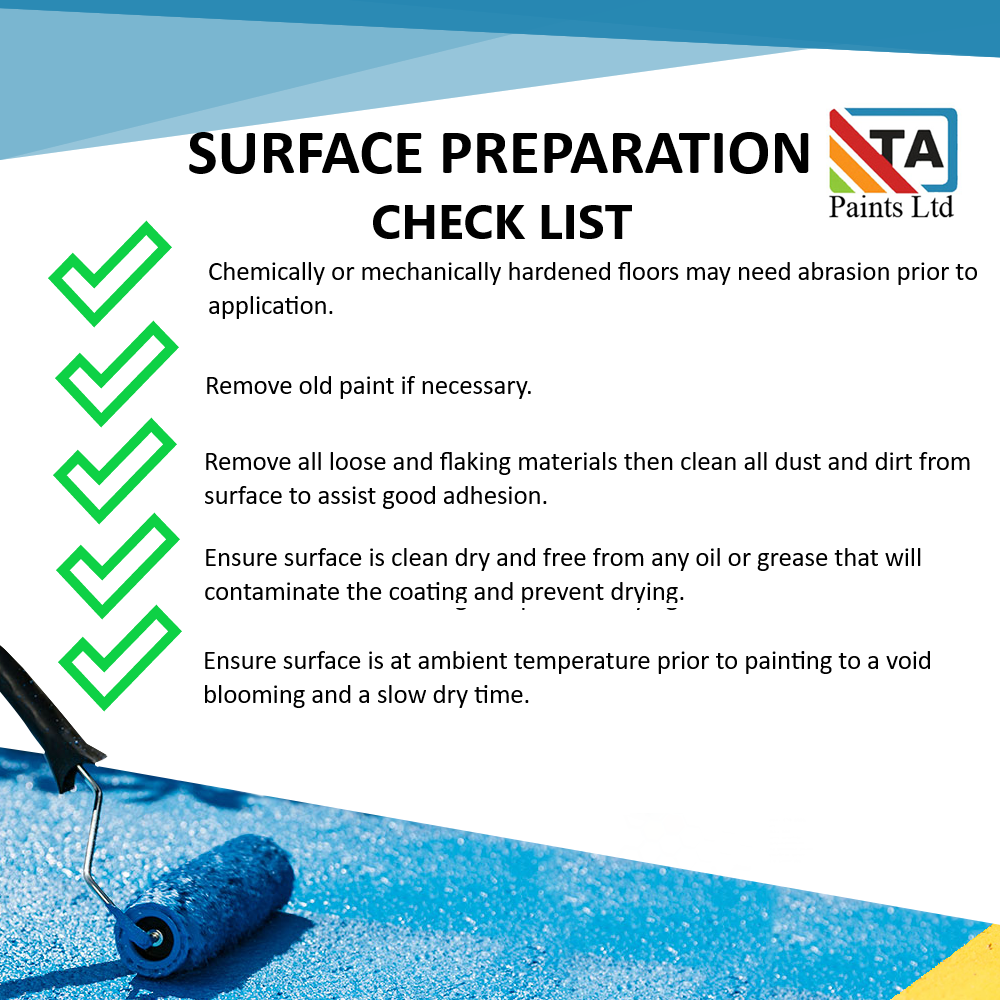
Surface Preparation Checklist
- Chemically or mechanically hardened floors may need abrasion prior to application
- Remove old paint if necessary
- Remove all loose and flaking materials then clean all dust and dirt from surface to assist good adhesion
- Ensure surface is clean dry and free from any oil or grease that will contaminate the coating and prevent drying
- Ensure surface is at ambient temperature prior to painting to avoid blooming and a slow dry time
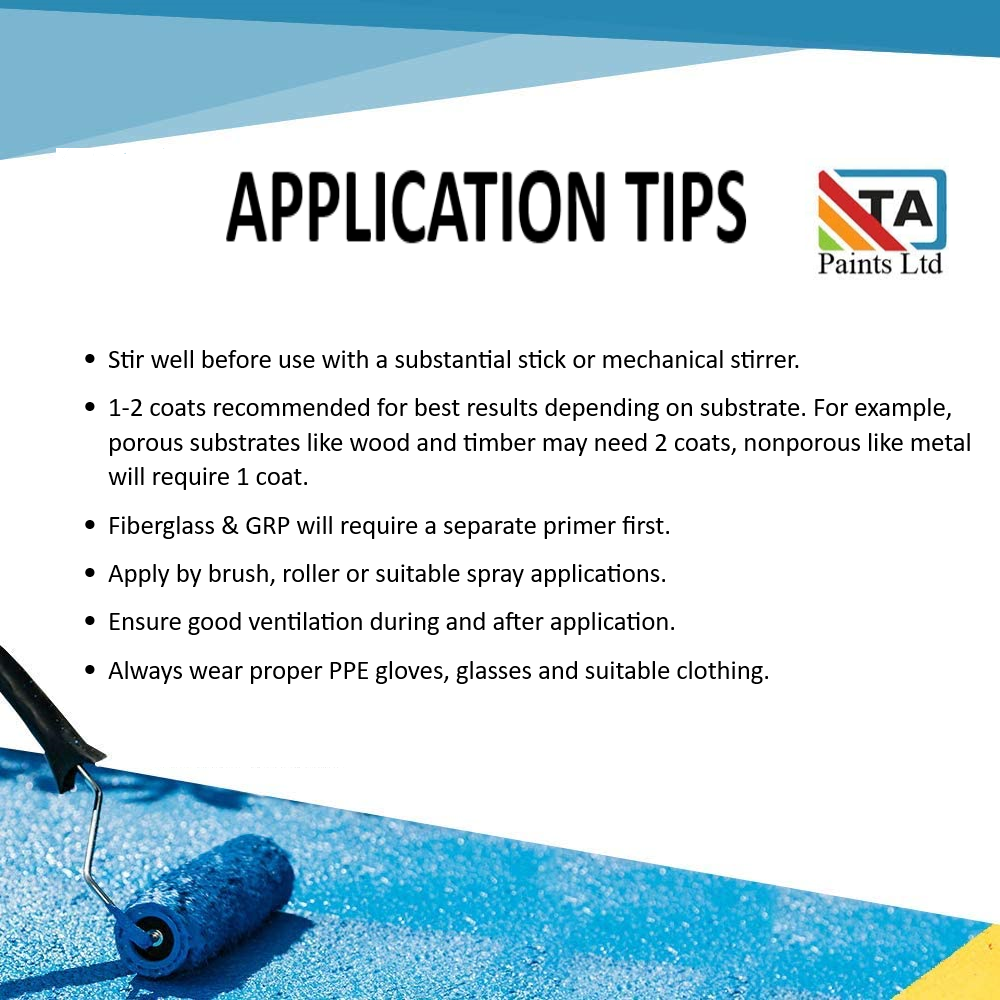
Application Tips
- Stir well before use with a substantial stick or metal stirrer
- 1-2 coats recommended for best results depending on substrate. For example, porous substrates like wood and timber may need 2 coats, nonporous like metal with require 1 coat
- Fibreglass & GRP will require a separate primer first
- Apply by brush, roller, or suitable spray applications
- Ensure good ventilation during and after application
- Always wear proper PPE gloves, glasses and suitable clothing
Description
Universal PU Enamel is a high-performance, multi-purpose polyurethane, oil based enamel paint formulated to deliver a hard-wearing, protective finish for a wide range of surfaces. Perfect for both interior and exterior applications, this versatile enamel paint offers exceptional durability and outstanding UV resistance when used outdoors, making it ideal for surfaces exposed to sunlight and harsh weather conditions.
This premium enamel paint is formulated to create a smooth, resilient layer that resists fading, and damage over time. Whether you’re enhancing indoor spaces or adding a protective coating to outdoor structures, Universal PU Enamel ensures a long-lasting finish that maintains its vibrancy and durability.
Designed for ease of application, Universal PU Enamel can be brushed, rolled, or sprayed onto surfaces, providing flexibility for different project types. Its multi-surface compatibility makes it suitable for use on metal, wood, concrete, and more, making it the go-to protective coating for a variety of DIY, garden, and industrial applications.
- Agricultural
- Barns
- Concrete paving
- Decking
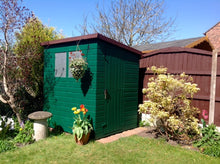
- Fence, shed and gates
- Gates & railings
- Marine
- Metal, concrete, stone, brick and primed fibreglass
- Outdoor use
- Scaffolding
- Skip & containers
- Steel
- Timber
- Vehicles
- Wood
About This Item
- AVAILABLE FINISHES: Gloss. Semi-gloss, and Matt finishes can be found here. The Semi-gloss and Matt finishes have anti-corrosive properties, allowing them to be applied directly to metal.
- DRYING TIME: Touch dry in 2-4 hours, overcoat in 12-24 hours, full protection properties after 7 days.
- COVERAGE: Approximately 8 square metres per litre. This does not account for the method of application, absorption of substrate or wastage.
- APPLICATION: Apply by brush or solvent-resistant medium pile rollers. This can aslo be sprayed.
- THINNERS: T0001 White Spirit.
- SHELF LIFE: 12 months.
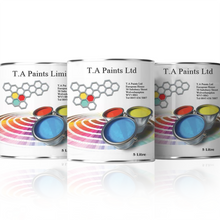
Proudly manufactured in England by B.C. Paints Ltd. Please note that images and product titles are for advertising purposes only; tins are supplied in BC Paints logo cans or plain white cans for 0.5, 1, 2.5 and occasionally 5 litre sizes.
Application
Before starting, have your PPE ready, as our paint is oil-based and will not wash off easily with soap and water.
Ensure you have good ventilation to allow vapour to escape; ventilation is also necessary to maintain drying times. Without air movement, the coating won’t dry properly.
Be sure to stir the paint well before use.
Painting Over Existing Paint:
Step 1 - Preparation: Check the suitability of the product for the existing paint. We recommend trying a sample area first.
Step 2 - Clean and Abrade:
- Ensure the existing paint is in good condition prior to painting, then lightly abrade to provide a key for good intercoat adhesion.
- If there is flaking paint, it must be removed before painting.
- Ensure the substrate is dry and clean of any dirt, oil or grease.
Step 3 - Prime: This step is down to personal preference. Depending on the condition of the existing paint or if you are changing a dark colour to a light one, you may want to add one coat of primer.
If the material you are painting is fibreglass or metal and is showing you will need to spot prime with the appropriate primer. If there is rust this will need removing and spot priming.
Step 4 - Topcoat: Once you have completed the previous steps, 12-24 hours after applying the primer, you can add your first coat of topcoat. Wait another 12-24 hours before applying the second coat.
Painting bare Wood, Concrete, Stone or Brick:
New concrete floors will need time to green. This generally is a period of 3-6 months from when the concrete floor is laid. We say 3-6 months as it depends on the thickness of the concrete and quality; it’s always best to ask the supplier and fitter of the concrete floor how long to wait until painting.
Never pre-seal concrete prior to painting, particularly with latex or PVC sealers, as paint will not adhere properly.
Step 1 - Clean and Prep: Ensure the substrate is dry and clean of any dirt, oil or grease. If there is any moisture in the substrate, it can cause delamination and lead to a loss of adhesion.
Power floated and smooth concrete floors will need abrading prior to painting.
Step 2 -First Coat: Thin the first coat by 20% with T0001 White Spirit to ensure the paint impregnates the substrate, this will act as the primer/sealer.
Step 3 - Top coat: 12-24 hours after applying the first coat, you can apply the second coat of topcoat.
Painting Bare Metal or Fibreglass.
Semi-gloss and Matt finishes have anti-corrosive properties, allowing them to be applied directly to metal. However, for complete protection, we recommend using a primer.
Step 1 - Clean and Prep: Ensure the substrate is dry and clean of any dirt, oil or grease. If there is any moisture on the substrate, it can cause delamination and lead to a loss of adhesion.
Step 2 - Prime:
Metal - If there is rust this will need removing and then priming with our High Build Zinc Phosphate Metal primer. If the substrate is exposed to harsh environmental factors, you can prime it with either Zinc Rich or our two-pack epoxy primer systems for optimal protection
Fibreglass/GRP/Gel Coat - Apply one coat of our Single Pack Fibreglass primer, as the topcoat will not adhere directly.
Step 3 - Top coat: Wait 12-24 hours after applying the primer before applying the first coat of topcoat. Then, after another 12-24 hours, apply the second coat.
Two coats of topcoat are recommended for optimal coverage.
Primers
Mild Steel: If you are painting mild steel, you will need our metal primer.
Fibreglass: If the fibreglass is bare, you will need a fibreglass primer. Use a two-pack epoxy fibreglass primer or single-pack fibreglass primer.
Galvanised Steel: After treating the galvanised steel with Mordant Solution (T-Wash), you will need our metal primer.
Etch Primer: Use one pack etch primer.
Aluminium: The suitable primer for aluminium is two-pack etch primer.
Wood, Concrete, Stone or Brick: No primer is required;These types of substrates are often porous, so we recommend thinning the first coat by 20% to ensure it impregnates the substrate, this will act as the primer/sealer.
Plastic/UPVC: Use UPVC Primer or a two-in-one primer and topcoat.
Mixing
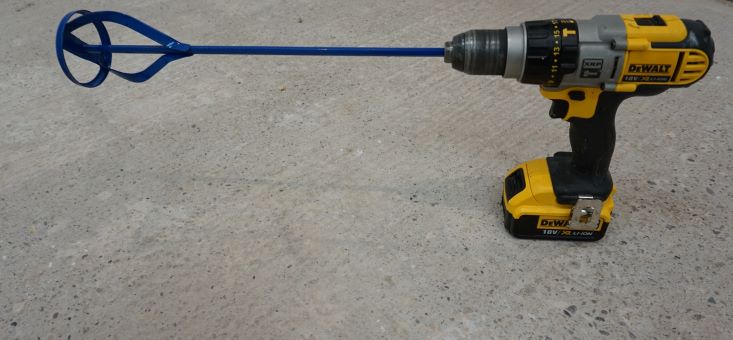
Always stir any paint well before use, as our coatings are heavily pigmented and separation can easily occur. You may experience colour float; for example, a green paint can appear blue before mixing. This is one of the reasons why mixing your paint before use is essential.
- Use a mixer on a slow-running drill or a palette knife on smaller cans to mix the paint. An egg whisk, screwdriver, or small stick that doesn’t reach the bottom of the can is insufficient for proper mixing.
- Mixing should take place for 3-5 minutes.
- If you are adding thinners; they will need to be added once stirred.
Paint mixers are available to purchase. Click here to buy one.
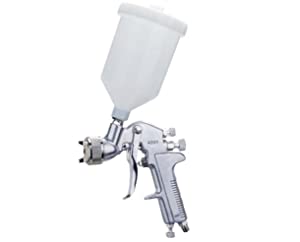
Spraying
Ensure you have the correct RPE, to protect against atomised particles that are being generated when spraying.
If applying with a pot gun:
Use a 1:8 to 2:0 tip setup and thin by 10% if required. More thinners may be added to achieve good atomisation and improve the flow of the
paint, resulting in a better finish.
Air-assisted or Airless system:
Use an 11-13 thou tip (no thinners are usually required). If thinning is necessary, use around 10%. Set air and paint pressures until good
atomisation is achieved and fingering (lines in the spray) have blended in.
Calculate Your Solvent Paint
Total Sqm:
Quantity Needed:
Quantities are approximates per coat, we cannot allow for wastage and or any absorption that may occur with porous substrates.
Total Sqf:
Quantity Needed:
Quantities are approximates per coat, we cannot allow for wastage and or any absorption that may occur with porous substrates.


