Advice Line
Need more information about our products? Give us a call on 01902 954948 or email us at sales@taindustrialpaints.co.uk
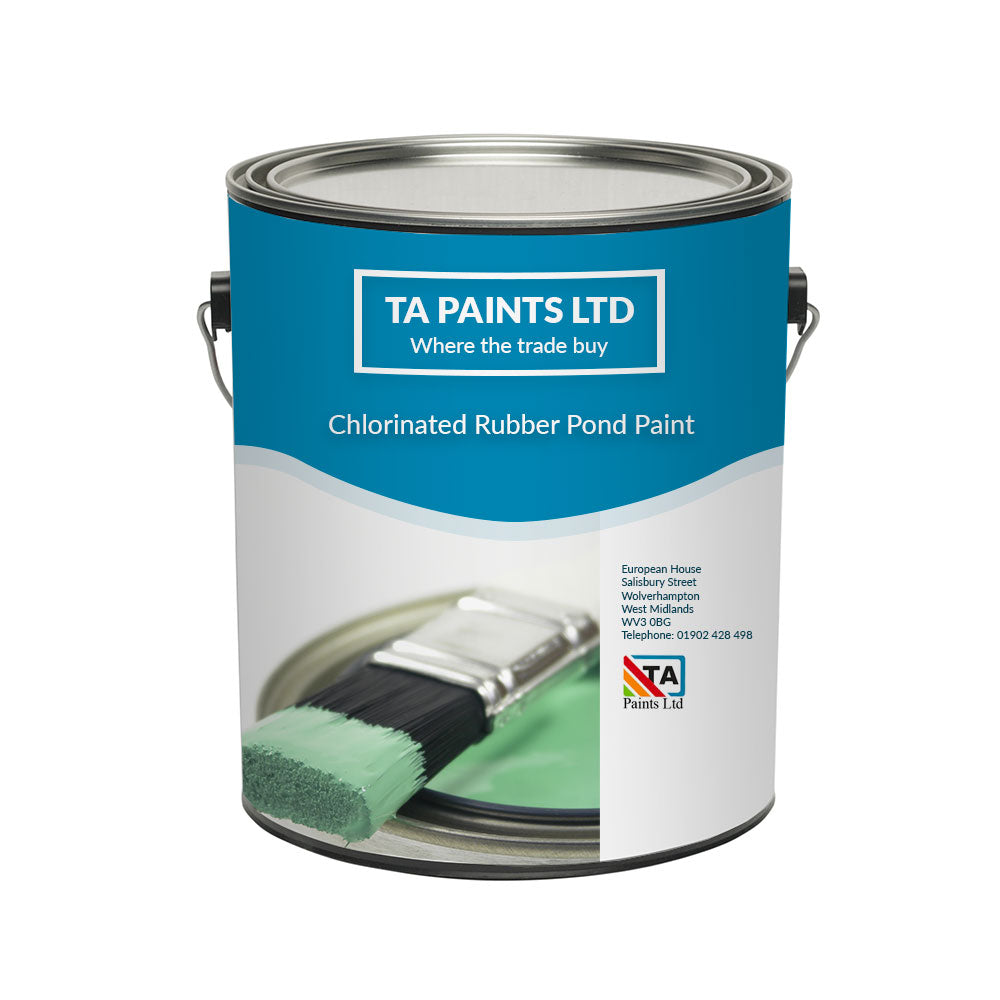
Rubber Pond Paint Chlorinated Rubber 3 In 1 Primer Sealer & Protects
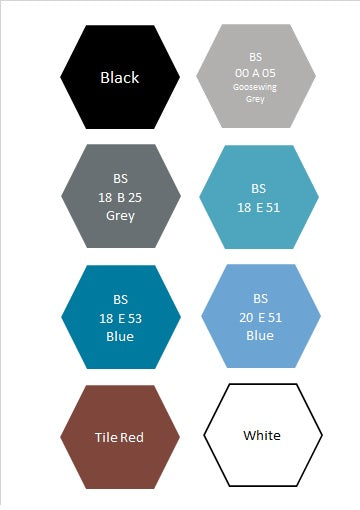
7 Colour(s) Available
- Application By Brush Roller & Suitable Spray
- Fast Dry Time In as Little as 20-40 Mins Touch Dry
- Premium Gloss Finish For The Best Protection
- Suitable For Concrete & Primed Metal or Fiberglass
- Multi-Buy Discounts
- Free Delivery Available
- Regular price
- £69.99 Inc. VAT
- Sale price
- £69.99
- Regular price
-
- Unit price
- /per
Find Your Perfect Colour

Adding product to your cart
Advice Line
Need more information about our products? Give us a call on 01902 954948 or email us at sales@taindustrialpaints.co.uk
This product is not suitable for the following
- Tiles of any sort
- Unprimed plastic
- Bare aluminium (you will need a suitable etch primer)
- Untreated galvanised steel (Mordant solution first)
- A hot surface that reaches above 106 degrees (C) (you will need high temperature paints)
The colours shown on the images are for guidance only. The displayed colour will depend on your monitor and browsers. The finished colour therefore may not be as shown here.
All pictures are for illustration purpose only - 1 & 2.5 Litre cans are not screen-printed cans.
Description
Eurochlor 1 Chlorinated Rubber Pond Paint is the ideal solution for protecting and enhancing artificial ponds with a durable, high-quality finish. Designed to deliver outstanding chemical resistance, this premium pond paint is perfect for surfaces made from fiberglass, metal, brick, or concrete. Its robust formula ensures long-lasting protection, making it a trusted choice for pond maintenance and repair.
This high performance chlorinated rubber pond paint is the perfect choice for pond owners seeking durability, elasticity, and chemical resistance without compromising on aesthetics. Ideal for both residential and commercial use, Eurochlor 1 is the go-to solution for maintaining a long-lasting, visually appealing pond.
Exclusively available in a gloss finish, which provides maximum durability and a sleek, professional appearance. Semi-gloss and matte options are avoided to maintain the highest integrity and finish quality
Is this Pond Paint safe for fish?
Although the label on the can indicates that the paint is harmful to aquatic life, this refers to the paint in its wet form. Once the paint has fully cured, which takes 7 days, it becomes safe for aquatic life and will not pose any harm when the pool or pond is refilled. Always allow the full drying time of 7 days before refilling to ensure the paint is fully set and safe for fish and plants.
About This Item
- ENHANCED ELASTICITY: Offers exceptional flexibility, preventing cracks even when the surface flexes or bends, perfect for dynamic environments.
- CHEMICAL RESISTANT: Protects against harsh chemicals, ensuring your pond remains in pristine condition.
- SUITABLE SUBSTRATES: Primed Metal, Primed Aluminium, Primed Fibreglass, Concrete and Brick
- FINISH: Gloss.
- COVERAGE: Approximately 8 square metres per litre. This does not account for the method of application or wastage.
- DRYING TIME: Touch Dry in 20-30 minutes, overcoat 12-24 hours. Full dry 7 days, the pond should not be filled untill after this time.
- APPLICATION: Brush, Roller or Spray. Medium Pile solvent resistant rollers are recommended.
- SHELF LIFE: 12 Months.
- THINNERS: T1000 Xylene
Application
Painting a swimming pool or pond in direct sunlight is inadvisable because the intense heat can cause the paint to dry too quickly on the surface while remaining soft underneath, leading to uneven curing and potential blistering or peeling.
Additionally, attempting to cover the pool to avoid sunlight creates a different problem: the lack of ventilation traps solvents within the enclosed space. This can prevent the paint from curing properly, leaving the coating soft, tacky, or "cheesy." Proper ventilation is essential to allow the solvents to escape and ensure the coating hardens as intended. To improve airflow and aid in proper curing, you can use a fan to create more circulation in and around the area.
Painting Over Existing Paint:
Be sure to stir the paint well before use. For full mixing instructions see 'Mixing' section.
Chlorinated rubber is a reversible coating, meaning that when applying a second coat or painting over an existing layer of chlorinated rubber, the new application will soften the underlying layer. To ensure a smooth finish, avoid overworking the paint. Simply apply an even coat and proceed to the next section without excessive brushing or rolling.
Step 1 - Preparation: Check the suitability of the product for the existing paint. We recommend trying a sample area first, as chlorinated rubber cannot be applied over single pack white spirit based paints.
Step 2 - Clean and Abrade:
- Ensure the existing paint is in good condition before painting.
- Lightly abrade the surface to provide a key for good intercoat adhesion.
- Remove any flaking paint prior to painting.
- Ensure the substrate is dry and clean of dirt, oil or grease.
Step 3 - Prime:
For any bare fibreglass or metal you will need to spot prime, rusted areas on metal sand back to bare metal and spot prime with the appropriate two pack epoxy primer.
Step 4 - Topcoat: Apply the first coat of top coat and overcoat with the second coat 12-24 hours after the first for optimal adhesion and performance.
Two coats of topcoat are recommended for optimal coverage.
Painting Bare Metal:
Be sure to stir the paint well before use. For full mixing instructions see 'Mixing' section.
Step 1 - Clean: Ensure the substrate is completely dry and free of any dirt, oil, or grease.
Step 2 - Prime:
As this product does not have anti corrosive properties you will need to use one coat of our Two Pack Epoxy Primer.
Step 3 - Topcoat: Apply the first coat of top coat and overcoat with the second coat 12-24 hours after the first coat for optimal adhesion and performance.
Two coats of topcoat are recommended for optimal coverage.
Painting Bare Concrete:
Never pre-seal the concrete prior to painting, particularly with latex or PVC sealers, as paint will not adhere properly.
New concrete should be left to dry for at least 3 months before painting. Any remaining moisture in the concrete can lead to paint delamination.
Be sure to stir the paint well before use. For full mixing instructions see 'Mixing' section.
Step 1 - Clean and Abrade: Ensure the substrate is completely dry and free of any dirt, oil, or grease.
Step 2 - First Coat / Prime: Thin the first coat by 20% with T1000 Thinners to ensure the paint impregnates the concrete, which will act as the primer / sealer.
Step 3 - Topcoat: Apply the second coat of paint within 12-24 hours of the first coat for optimal adhesion and performance.
Two coats of topcoat are recommended for optimal coverage.
Primers
Fibreglass/GRP
Two Pack Epoxy Fibreglass Primer
Concrete
No primer is required, as concrete is porous, we recommend thinning the first coat by 20% to ensure it impregnates the substrate, this will act as the primer/sealer.
Metal
When painting bare metal a primer is required, as this topcoat lacks anti-corrosive properties for metal. Please see a list of compatible primers.
Two Pack Epoxy HB Zinc Phosphate Primer
Two Pack Epoxy MIO
Two Pack Epoxy Zinc Rich Primer
Mixing
Always stir any paint well before use, as our coatings are heavily pigmented and separation can easily occur. You may experience colour float; for example, a green paint can appear blue before mixing. This is one of the reasons why mixing your paint before use is essential.
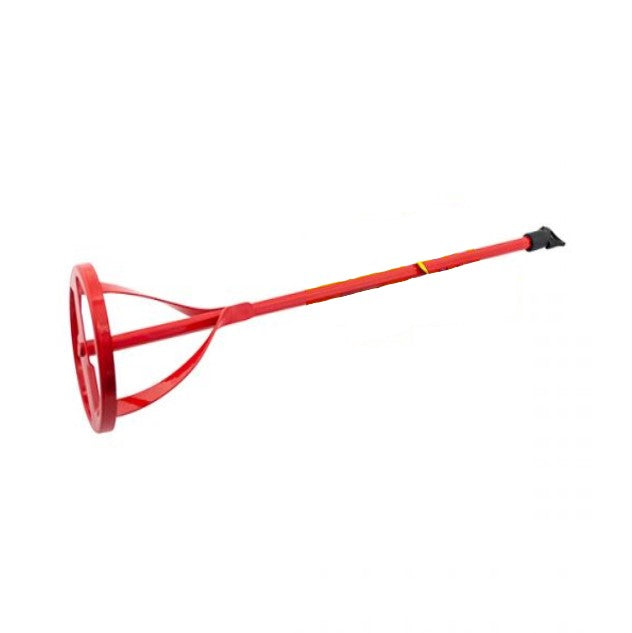
- Use a mixer on a slow-running drill or a palette knife on smaller cans to mix the paint. An egg whisk, screwdriver, or small stick that doesn’t reach the bottom of the can is insufficient for proper mixing.
- Mixing should take place for 3-5 minutes.
- If you are adding thinners; they will need to be added once stirred.
Paint mixers are available to purchase. Click here to buy one.
Spraying
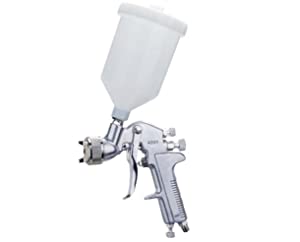
Ensure you have the correct RPE, to protect against atomised particles that are being generated when spraying.
If applying with a pot gun:
Use a 1:2 to 1:4 tip setup and thin by 10% if required. More thinners may be added to achieve good atomisation and improve the flow of the paint, resulting in a better finish.
Air-assisted or Airless system:
Use an 11-13 thou tip (no thinners are usually required). If thinning is necessary, use around 10%. Set air and paint pressures until good atomisation is achieved and fingering (lines in the spray) have blended in.
Calculate Your Solvent Paint
Total Sqm:
Quantity Needed:
Quantities are approximates per coat, we cannot allow for wastage and or any absorption that may occur with porous substrates.
Total Sqf:
Quantity Needed:
Quantities are approximates per coat, we cannot allow for wastage and or any absorption that may occur with porous substrates.

